Weather station
The weather accompanies us every day, but we cannot influence it. A device in every apartment (analog or digital) is a weather station. Nowadays you can buy it very cheap. But I wanted to build one myself.
Components and Assembly
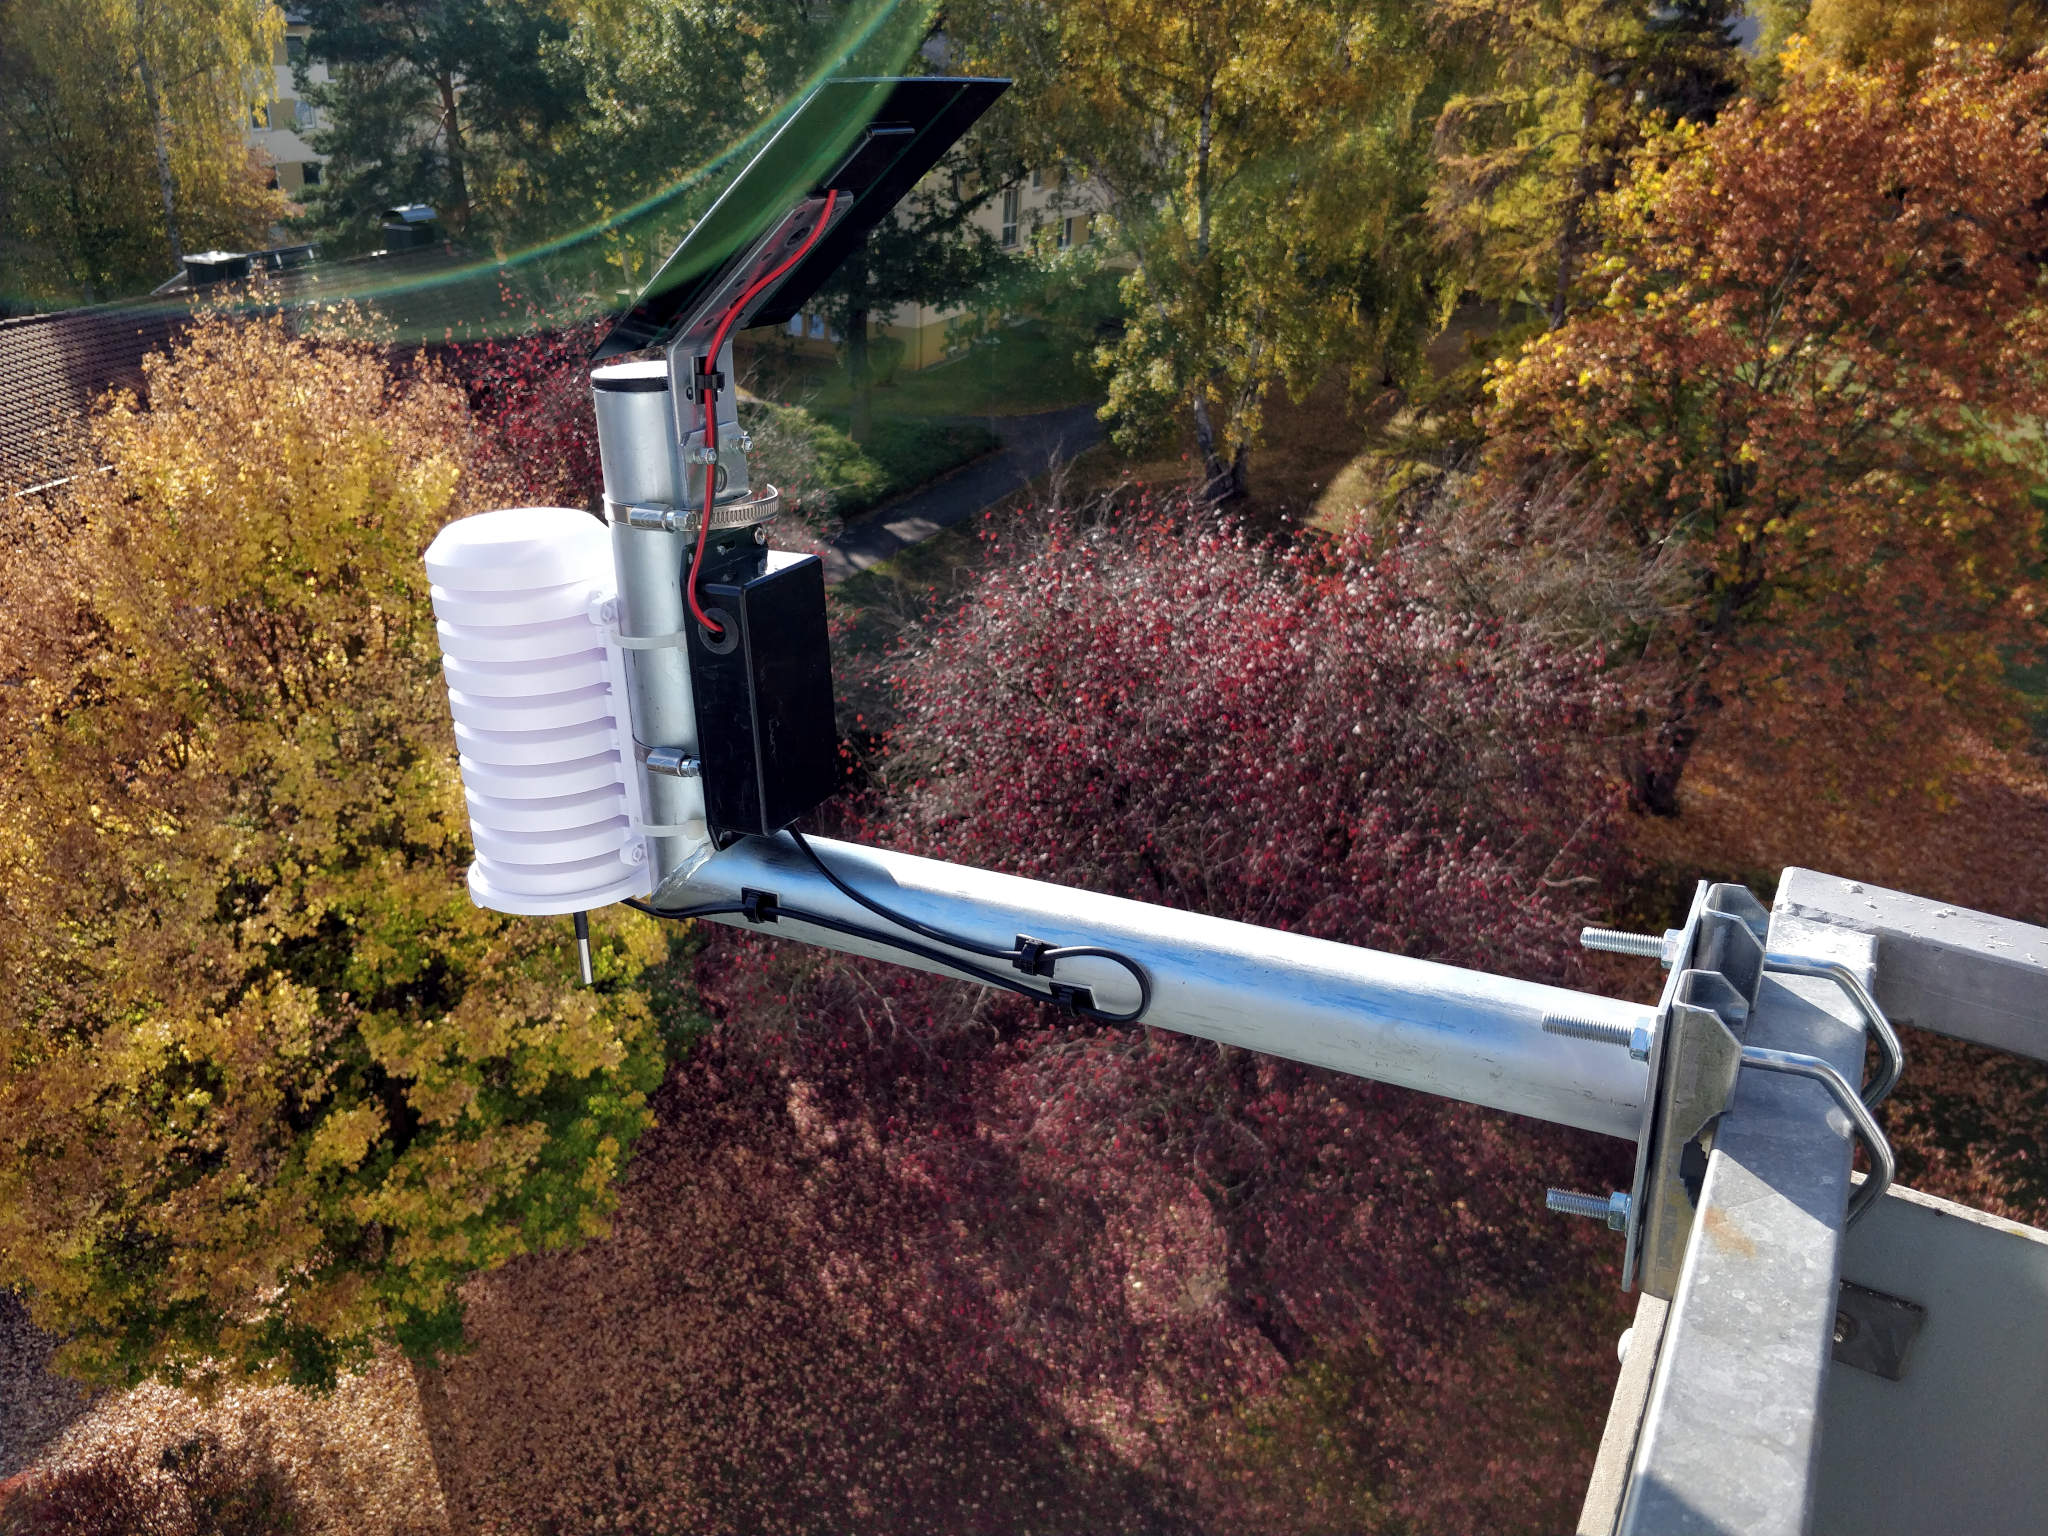
It was important for me here that this station runs autarkically. This means that it had to be designed in such a way that power-saving operation is possible. The supply must be guaranteed with a rechargeable battery, which can be charged via a solar panel.When selecting the components, I finally decided on the following:
- ESP8266-E12
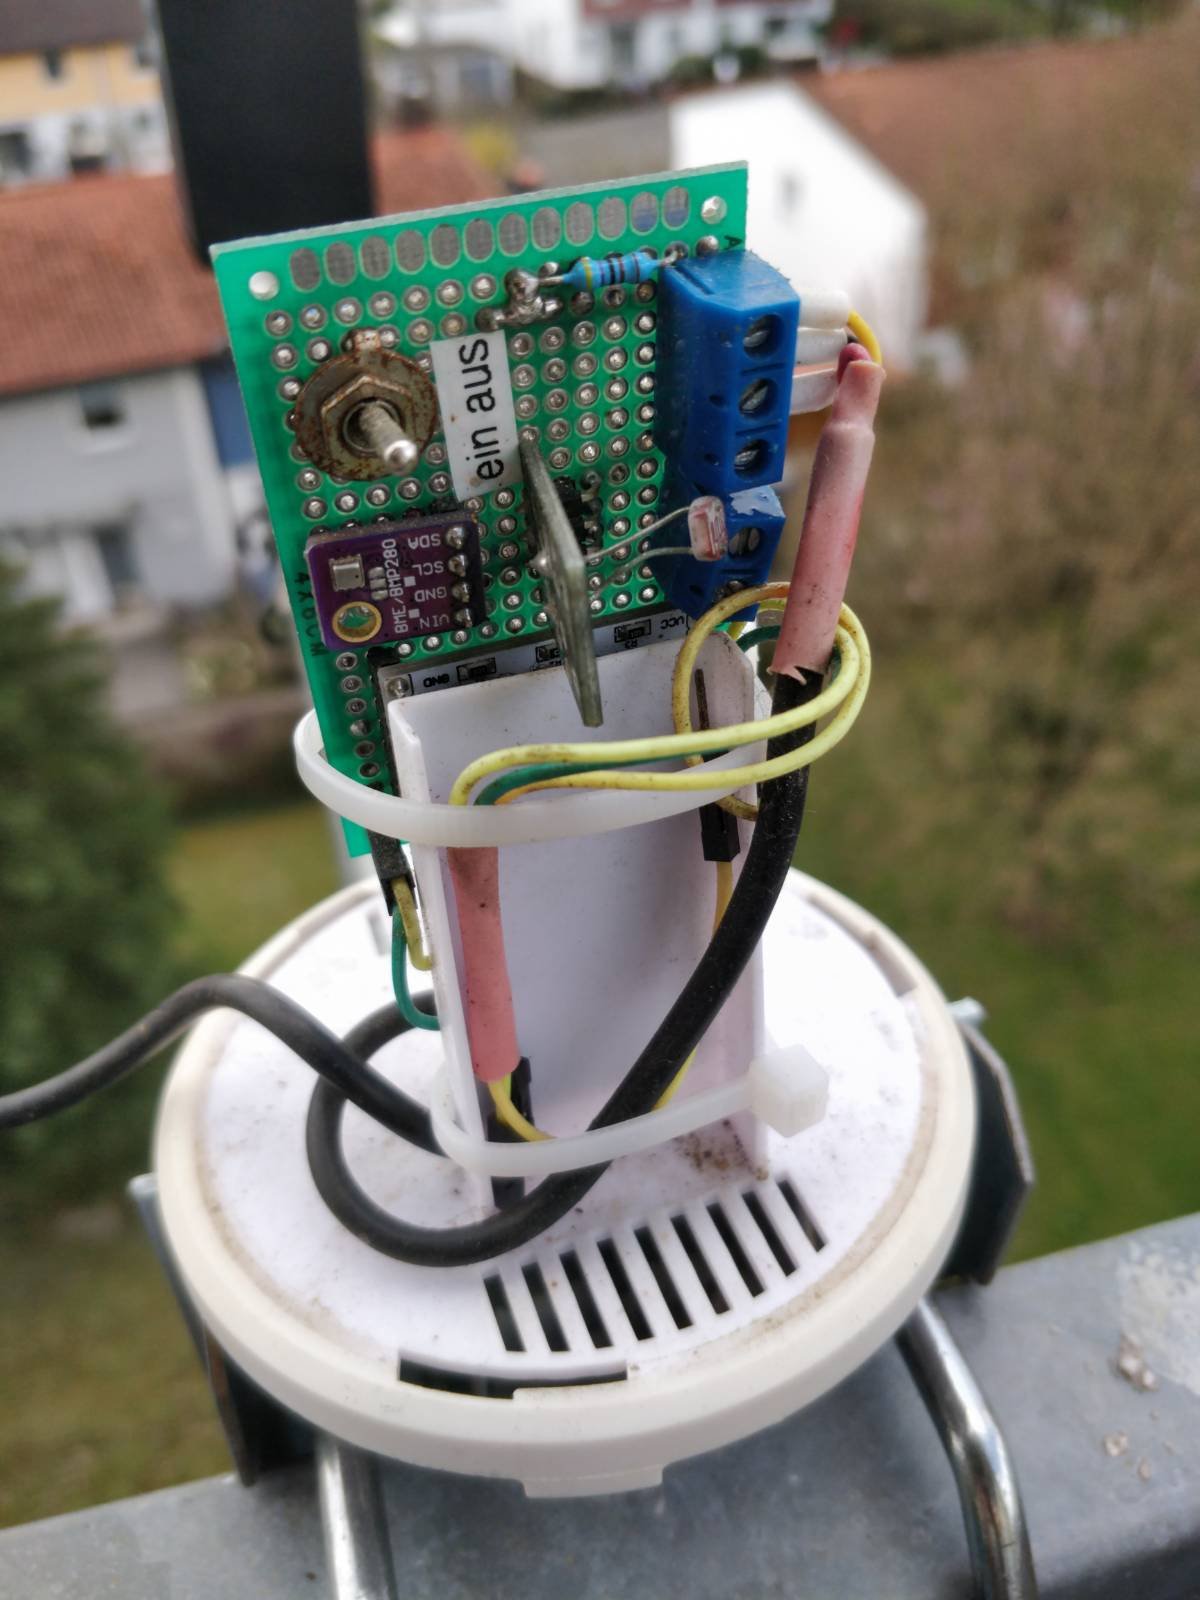
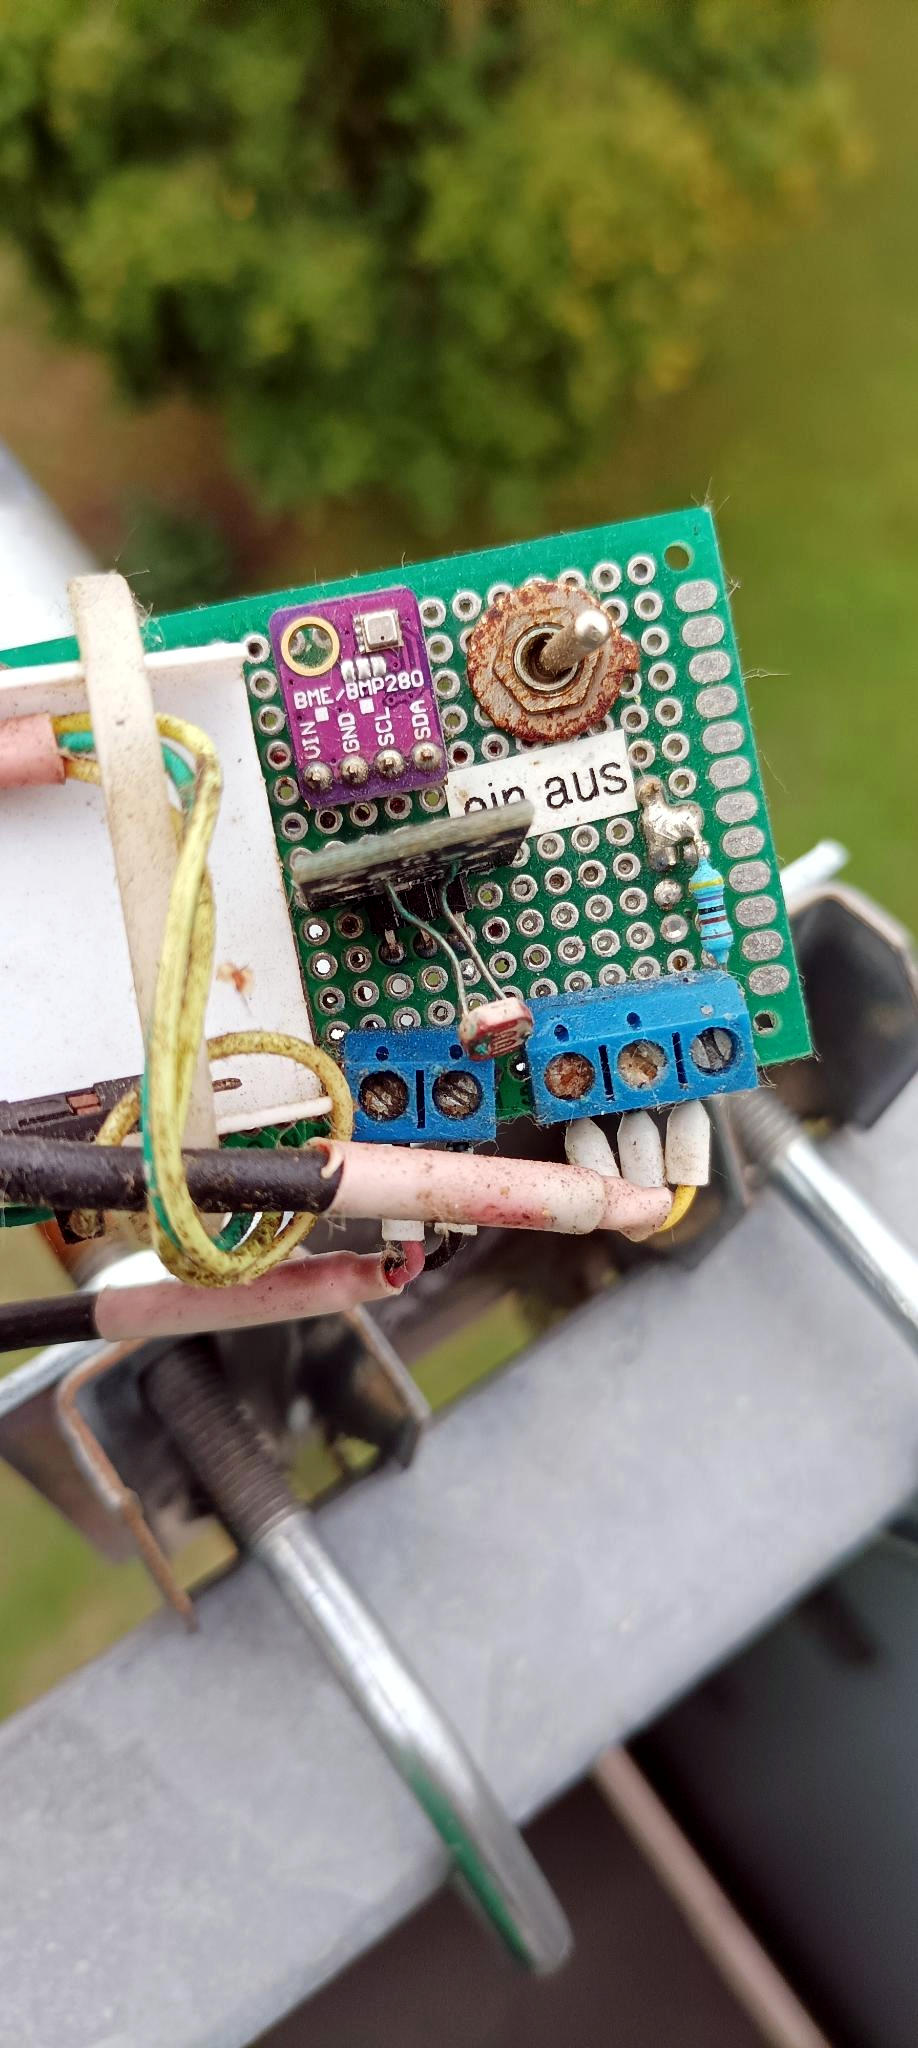
- GY-BME280: Temperature, Humidity and Air Pressure Sensor
- DS18B20: Temperature sensor in housing
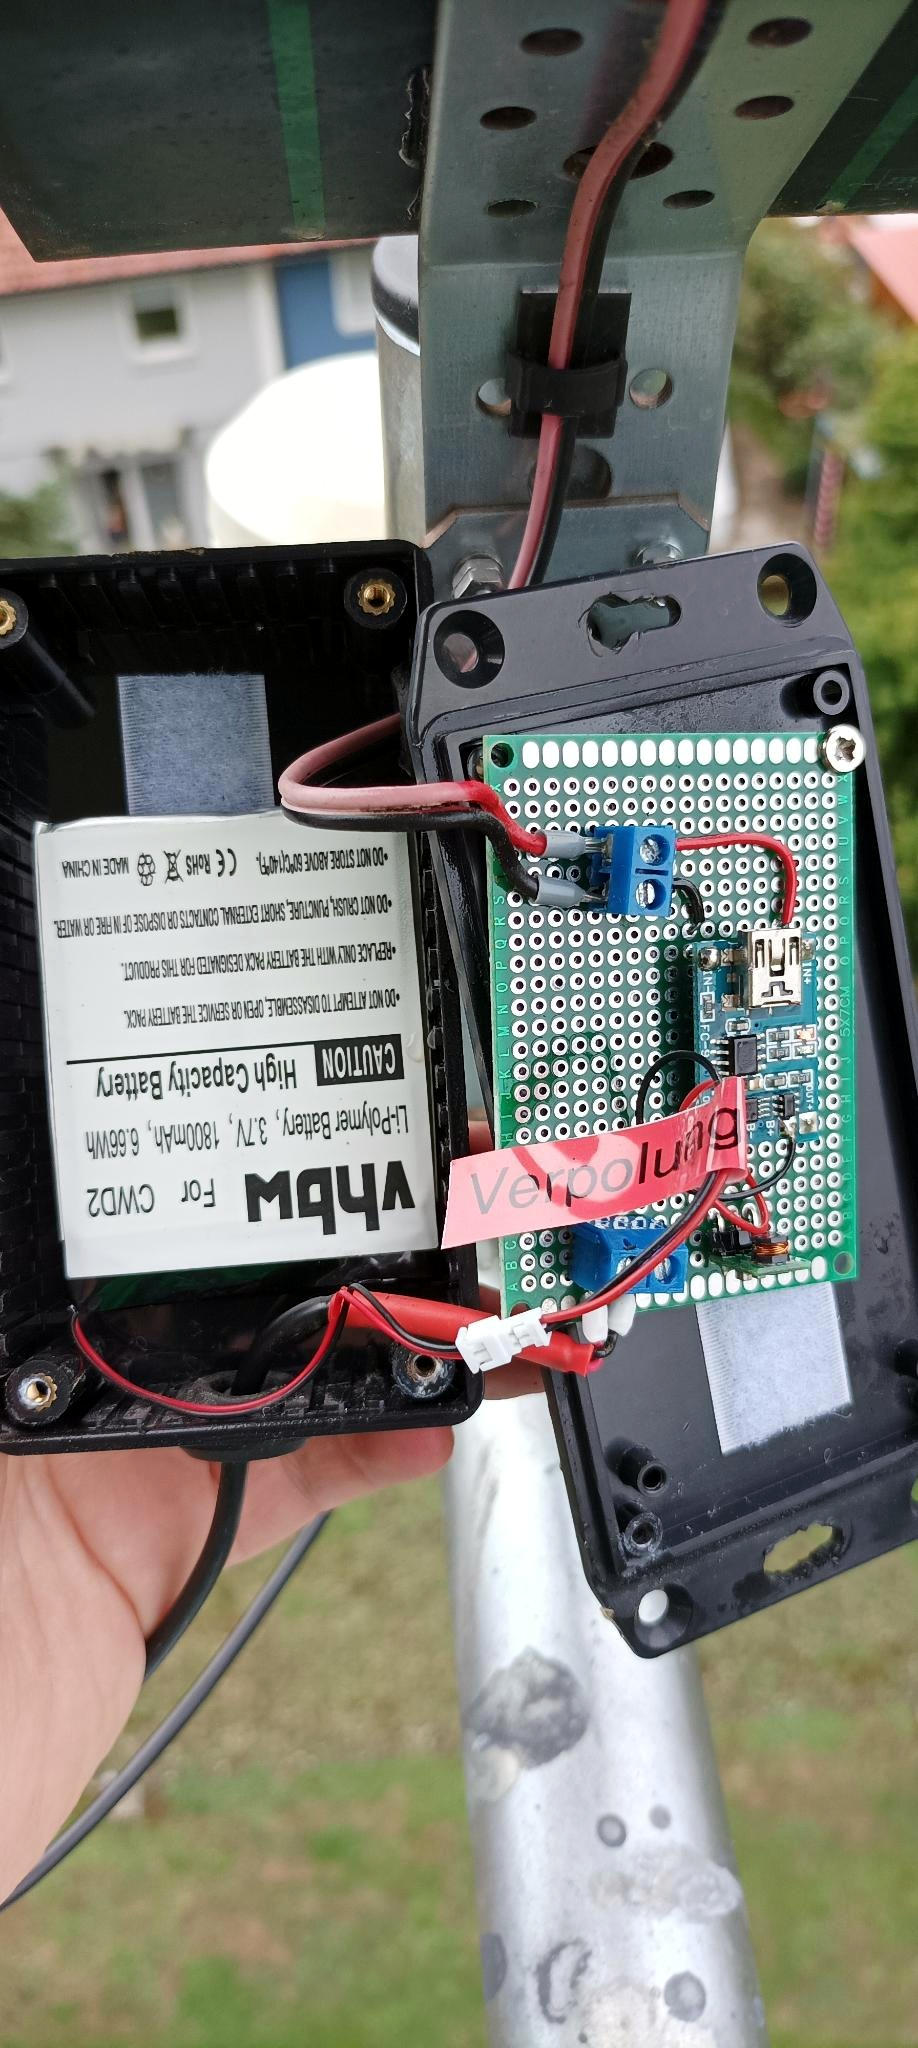
- TP-4056: Charge controller (Attention! There are different versions here! I use one which has an output in addition to charging and thus allows simultaneous operation and charging of the battery.)
- DD0503MA: 3 V - 6 V to 3.3 V down converter
- Li-Polymer battery (1.800 mAh with 3.7 V)
- Solar panel (2,5W with 5 V)
- TFA Dostmann protective cover for transmitter (article number: 98.1114.02)
- Small housing for battery and charging electronics
- Boom for weather station
The solar panel is connected to the battery via the charge controller. With the TP-4056 I have used a version which has a parallel output for the parallel operation of a device in addition to the charging function (you should pay attention to this when buying!). The down converter was connected to it, which supplies the ESP8266 with voltage.
The sensors are standard sensors which can be connected directly to the ESP via the recommended wiring. Of course, a MUC board can also be used, which results in less soldering work. If necessary, however, the power supply may have to be reworked to 5 V.
Software
I thought about the software for a long time and after some tests I decided not to develop it myself. Since I already use [Tasmota](https://github.com/arendst/Sonoff-Tasmota) for various internal sensors, this was also a good idea for the weather station.Tasmota is designed for the ESP8266 and works without any problems with it. The communication is done via WLAN and MQTT. These functions are supported directly and no complex integration of external functions is necessary. Afterwards the data is processed in an openHAB server.
The ESP supports a Deep Sleep mode. This requires a very low power consumption. For the weather station, which should send data in a certain interval, this function would be optimal. Unfortunately Tasmota doesn’t support it, so I use Stefan Bode’s fork here. It supports this function and here I set a deep-sleep interval of five minutes.
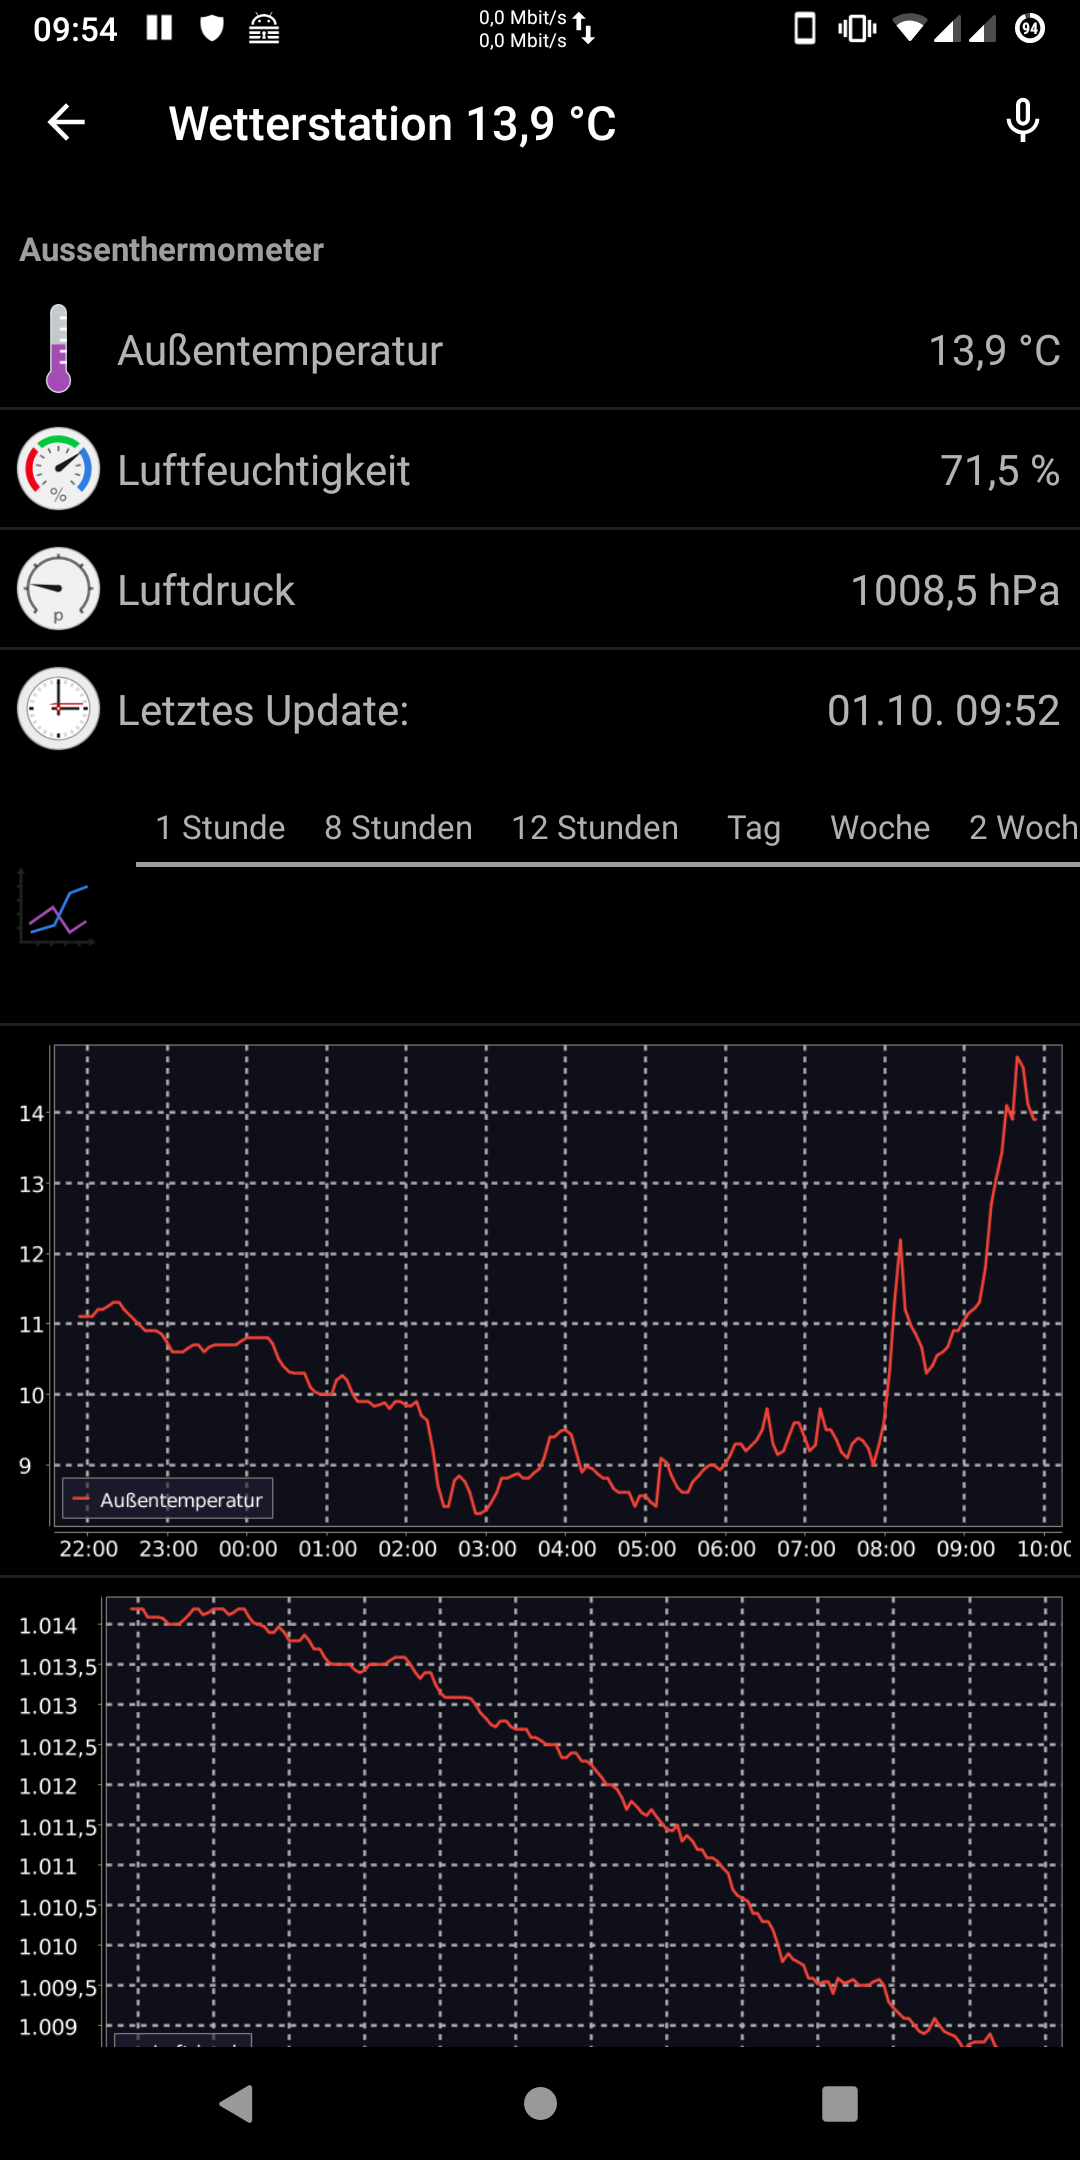
This means that the ESP wakes up every five minutes, determines the measurement data from the sensors and sends them via MQTT and WLAN to the central MQTT server. The openHAB server reads this data and generates a nice graphical user interface for the browser and the smartphone and also produces graphs.
Further articles
For this article there is a continuation, which is relevant for hams. It deals with the import of the data into the APRS network.
Update April 2021
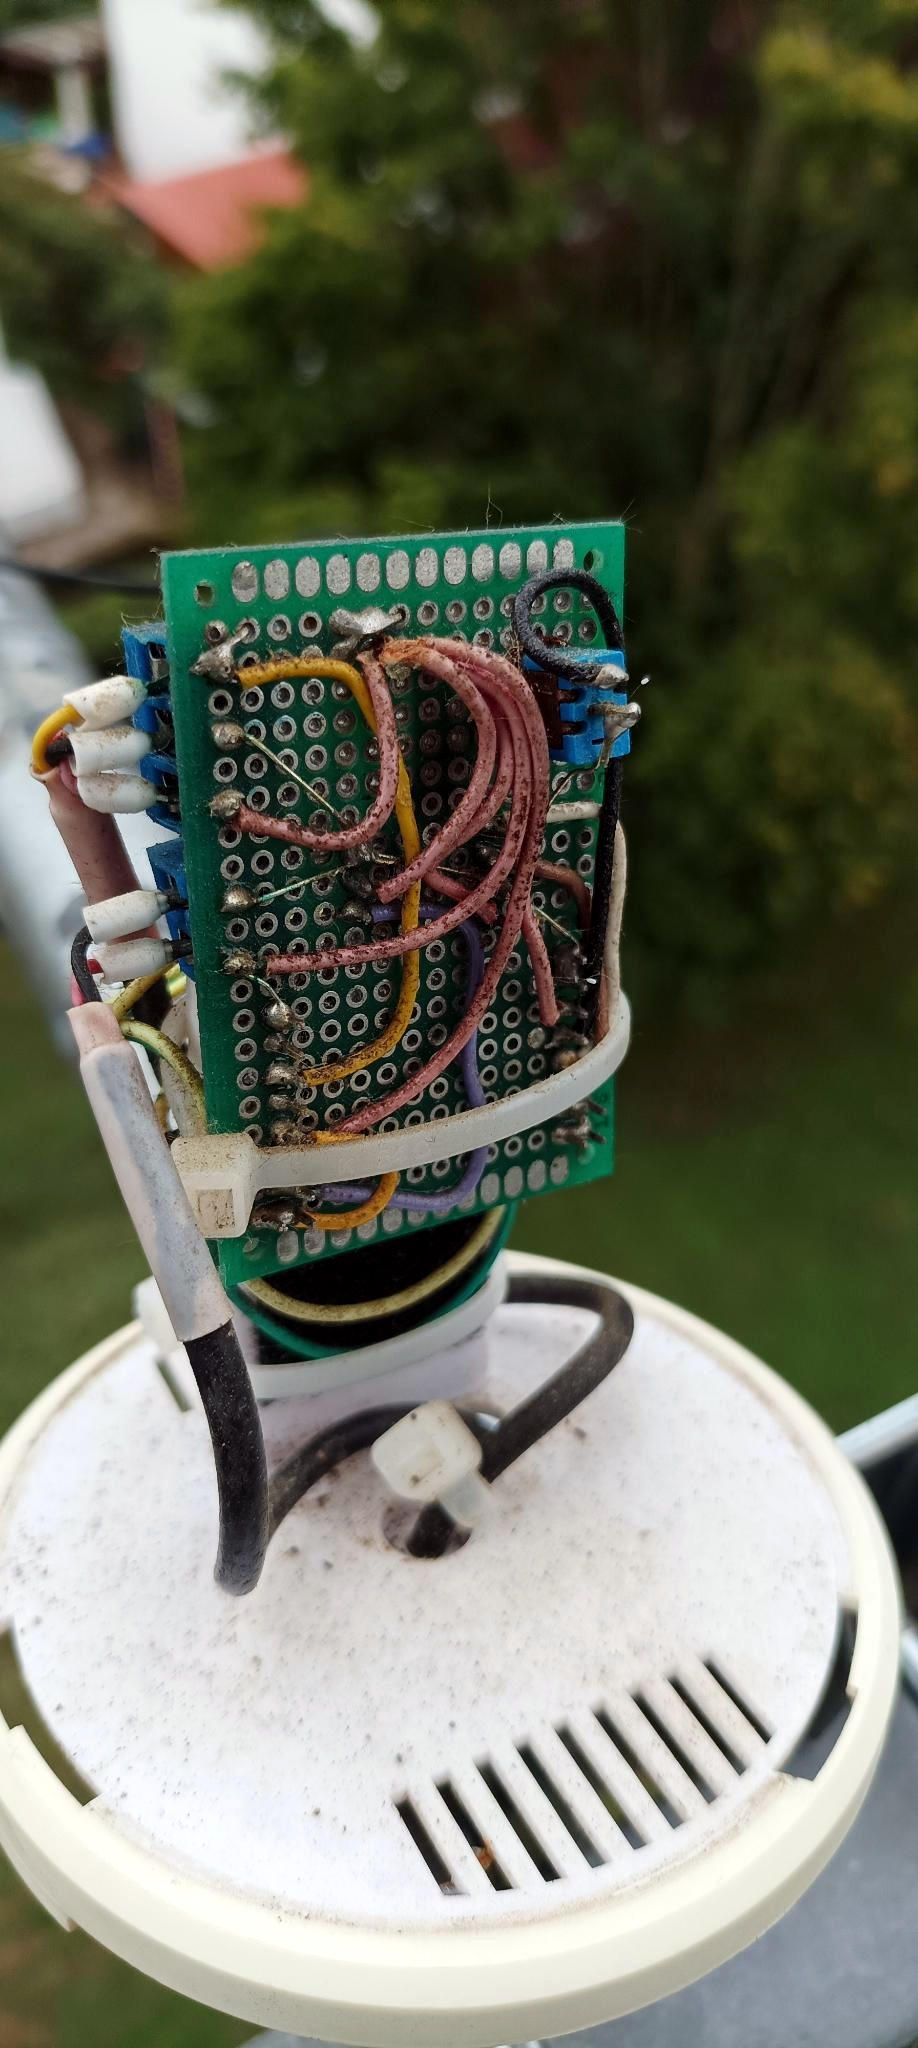
After 2 1/2 years, the station had problems and no longer responded. At first I suspected the battery, but I was able to rule it out quickly by measuring the voltage. In the end it was just oxidized contacts on the screw caps. Some contact spray solved the problem.
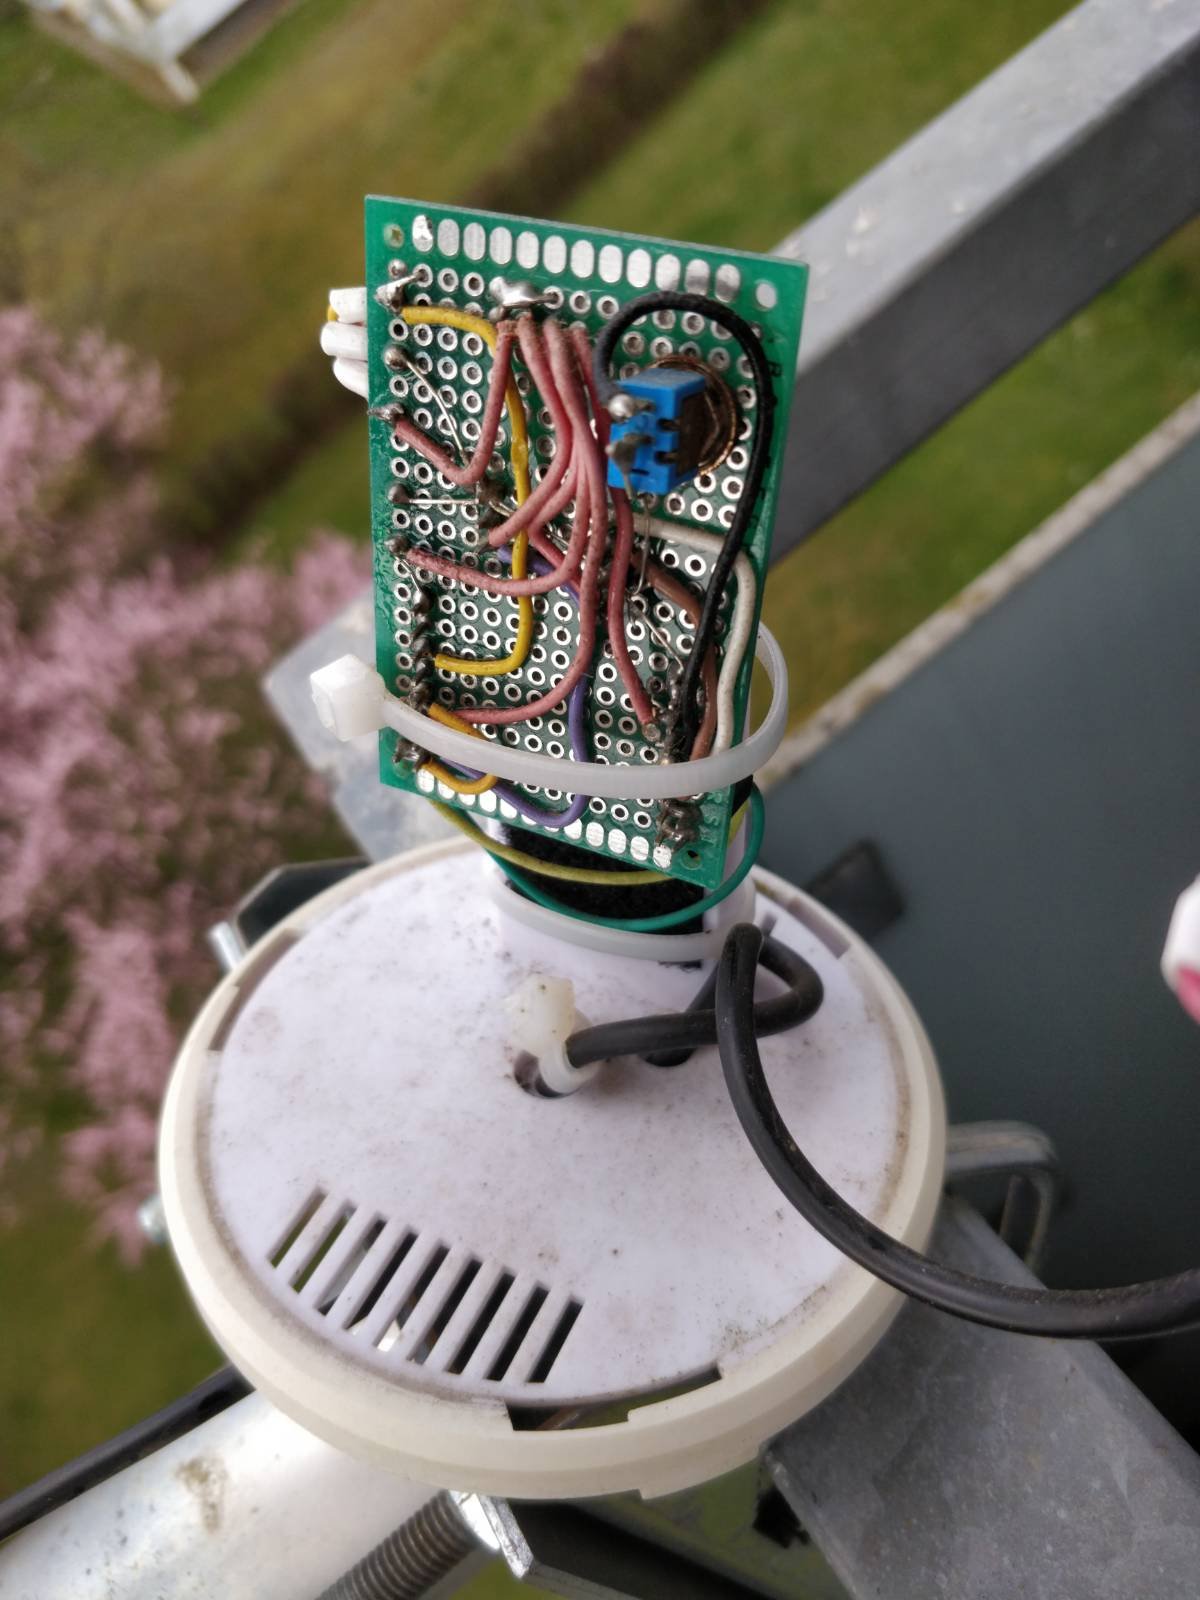
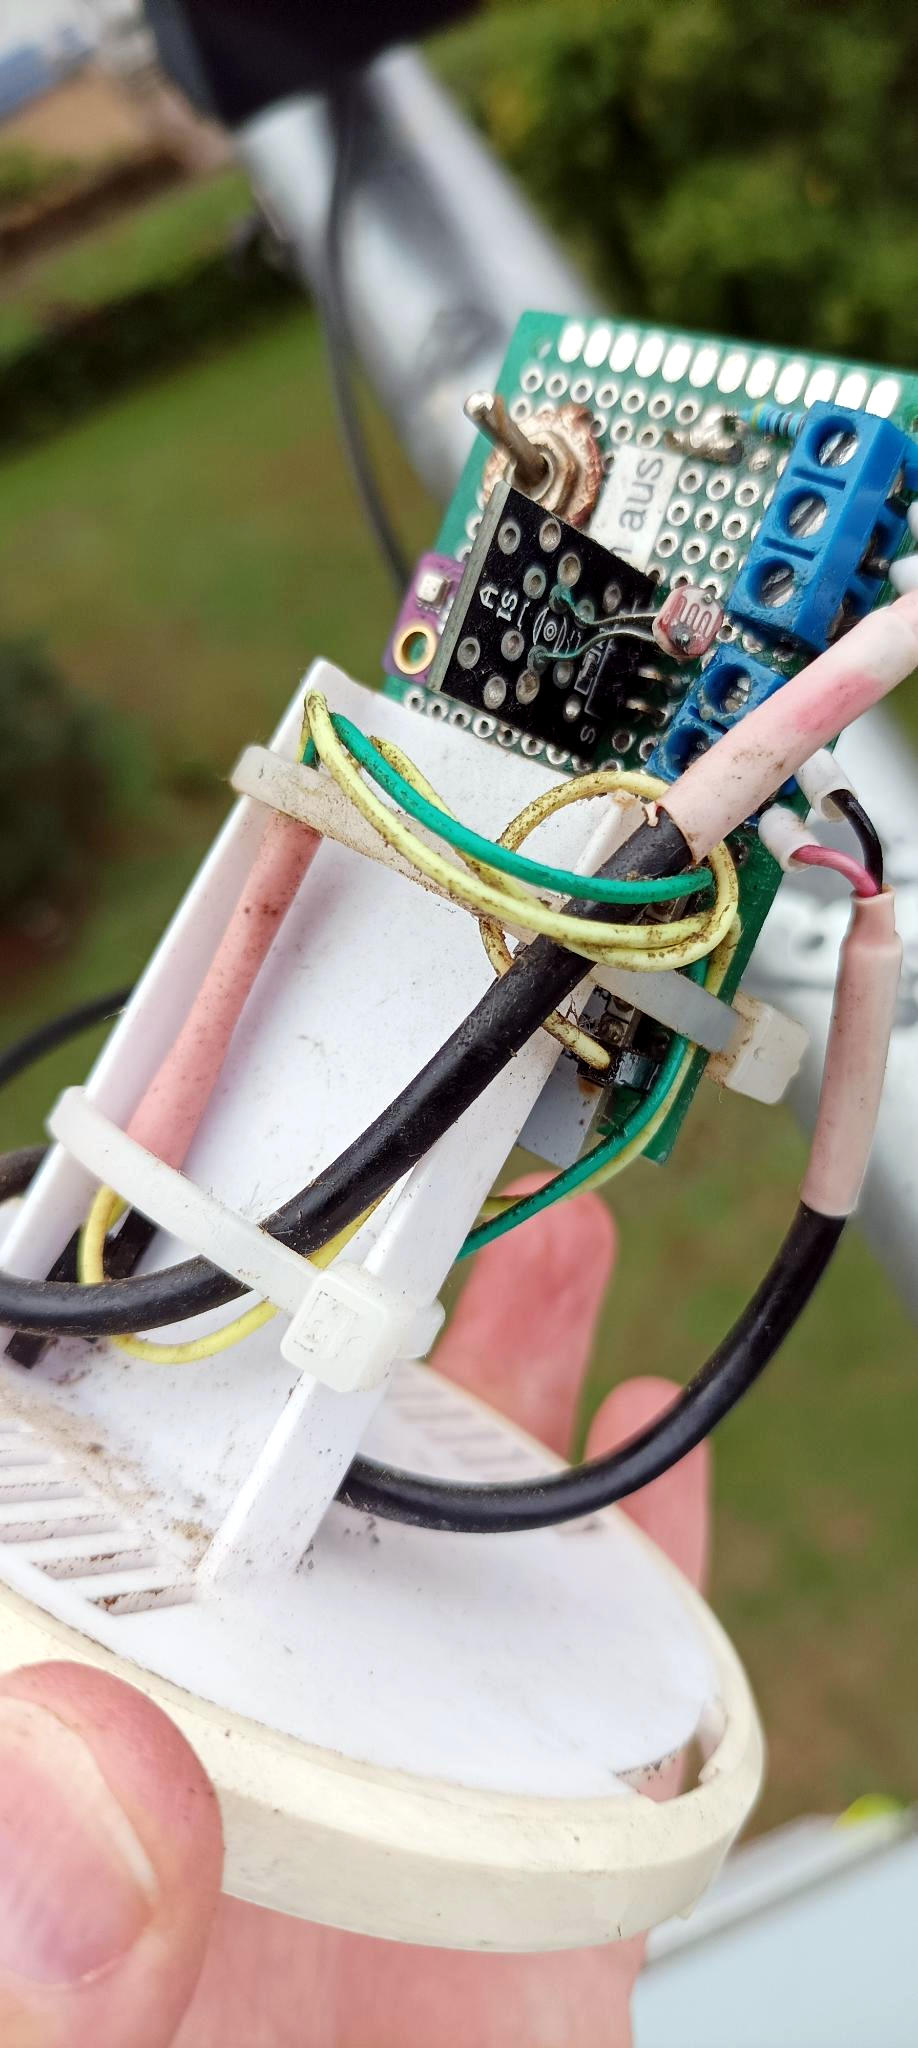
The photos show the condition of the board, components and wiring. Despite the better test setup there are still no problems.
Update September 2022
After four years, the weather station was thoroughly overhauled. For this purpose, it was dismantled, cleaned, contacts and battery checked and then reassembled. Even after four years, no problems were found except for dirt and oxidation on the screw contacts. The battery is also still in good condition.
